
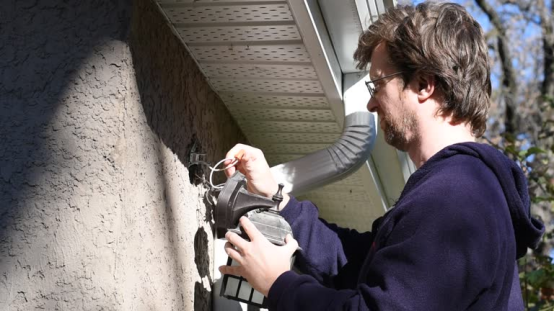
Many homeowners worry that a double-headed outdoor wall light might be too complex to install. However, with products like the Waterproof Double-Head Wall Lamp, installation is straightforward. Featuring an integrated design and standard components, this fixture can be mounted by one person in about 30 minutes—no electrician required. Follow this step-by-step guide to securely install your new outdoor light.
Table of Contents
Pre-Installation Prep Tools & Safety Check
1. Tools You’ll Need (Easy to Find)
- Essential: Power drill (with a 6mm drill bit), Phillips screwdriver, wire strippers (optional)
- Helpful: Level, measuring tape, pencil, waterproof electrical tape
- Safety: Insulated gloves, safety glasses
2. Included Parts (No Extra Purchases)
- Double-head wall light, mounting plate, wall anchors (x4), mounting screws (x4)
- Wire connectors (x2), silicone gasket (for waterproof seal)
- Clear installation manual with wiring diagram
3. Critical Safety Steps
- Turn Off Power: Locate the correct circuit breaker in your home’s electrical panel and switch it off. Use a voltage tester to confirm power is off.
- Check Wall: Ensure you’re mounting to a solid surface (brick, concrete, or solid wood). For hollow siding, use a mounting block or retrofit box.
- Confirm Voltage: The light operates on standard 120V household current.
Step-by-Step Installation 6 Easy Stages
Step 1: Mark Position & Height (5 minutes)
- Measure the desired mounting height—typically 7–8 feet (2.2–2.5m) above ground to avoid glare.
- Hold the mounting plate against the wall, use a level to ensure it’s straight, and mark the screw holes with a pencil.
Step 2: Drill Holes & Secure Mounting Plate (10 minutes)
- Using a 6mm drill bit, drill holes at your marked points to a depth of about 2 inches (5cm).
- Insert the wall anchors, then align and secure the mounting plate with the provided screws.
- Key Detail: Place the included silicone gasket between the plate and the wall to prevent water seepage.
Step 3: Connect Wires (8 minutes)
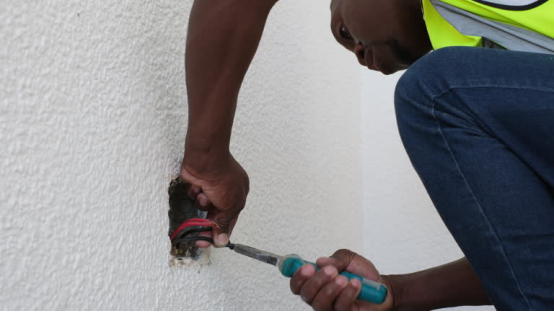
- You’ll typically see three wires from your junction box: Black (hot), White (neutral), and Green/Bare (ground).
- Connect the light’s wires to the house wires: black to black, white to white, and green to green using the provided wire connectors.
- Wrap each connection with waterproof electrical tape for an extra moisture-resistant seal.
Step 4: Attach Light Fixture (5 minutes)
- Align the light’s base with the mounting plate and either twist it into place (if it’s a twist-lock design) or secure it with the provided screws.
- Ensure the fixture sits flush against the wall with no gaps.
Step 5: Adjust Lighting Angle (2 minutes)
- This double-head outdoor wall light allows up to 90° of adjustment.
- For a porch or garage, angle heads slightly downward.
- For a walkway or patio, position them horizontally for even side-to-side coverage.
Step 6: Power On & Final Check (2 minutes)
- Restore power at the breaker. Test the light and both heads to ensure they work.
- Wipe the fixture clean and double-check that all connections are secure and the light is firmly mounted.
Pro Tips for a Perfect Installation
1. Drilling for Different Wall Types
- Brick/Concrete: Use a masonry bit and hammer drill setting.
- Wood Siding: Skip wall anchors; use long wood screws directly into studs.
- Metal or Vinyl: Use appropriate drill bits and consider a mounting block for stability.
2. Extra Protection for Coastal/Humid Areas
- In places like Florida or California, use waterproof wire connectors in addition to tape.
- Install under an eave or overhang if possible to reduce direct exposure to driving rain.
3. Quick Troubleshooting
- Light Won’t Turn On: Verify wires are correctly matched and the breaker is on.
- Uneven Light: Readjust the angle of the light heads.
- Fixture Feels Loose: Tighten the mounting screws or use larger wall anchors.
Final Verdict Installation Is Easier Than You Think!
Installing this outdoor wall light comes down to three simple principles: accurate marking, safe wiring, and secure mounting. With no special tools or advanced skills required, it’s a perfect project for a DIY-minded homeowner. In just 30 minutes, you can enjoy bright, even illumination (up to 1200 lumens) along with the long-term benefits of IP65 waterproofing and durable aluminum construction.
If this is your first time, just follow the manual’s wiring diagram closely, pay special attention to wire colors and waterproof sealing, and you’ll have it working perfectly—without the cost of an electrician.
Get the durable, easy-to-install outdoor wall light designed for DIY success.